
Arduino is a fantastic microcontroller platform, but the IDE can feel quite limiting once you go beyond “Hello world” projects. If you’ve outgrown the Arduino IDE, consider PlatformIO.
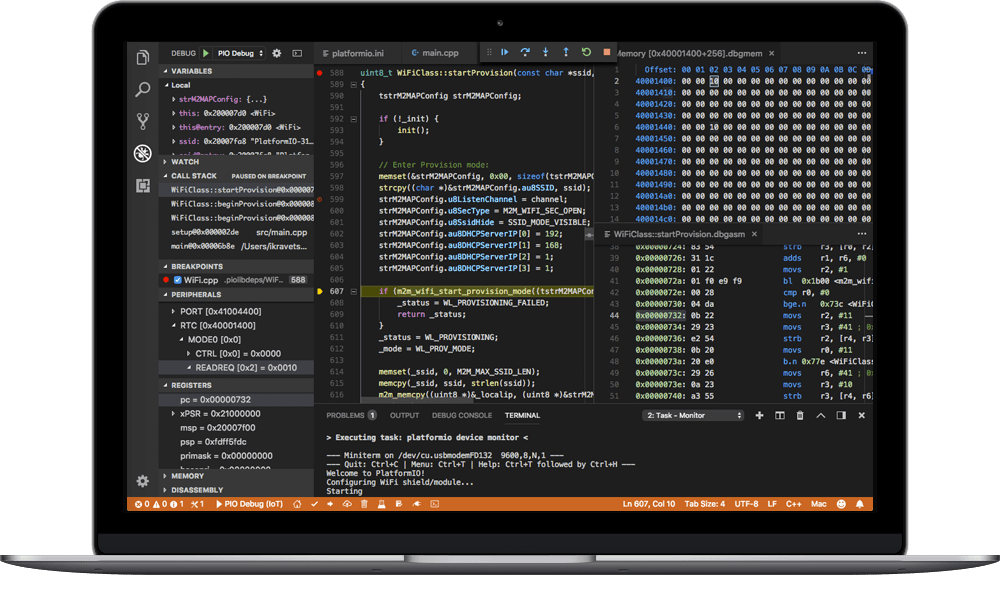
PlatformIO is a a powerful IDE for Internet of Things (IoT) devices build on top of VSCode, with some great Arduino-specific features:
- Supports Arduino, ARM Cortex, and many other IoT platforms
- Full-featured code editor based on Atom with tab-completion, inline help, multiple cursors, refactoring, the works
- Supports Build, Upload, Unit Test actions with continuous integration options
- Build files with sane library management
- Serial port monitor with automatic restart
These features really shine when you start building more complex projects.
Here I showcase how you can build and upload a simple multi-Arduino device project that would be a pain to manage otherwise.
Motivation
Let’s say you want to build a system build out of:
- a sender – an Arduino device with some attached sensors – captures information from the environment, and beams it into the air via XBee, Bluetooth, plain-jane RF, etc.
- a receiver – a second Arduino device that reads the information from the first, remote Arduino device and actuates, e.g. some motors or servos
The Arduino IDE is not well-adapted to this kind of problem, because it uses a paradigm where one sketch = one device. If you want to work on a project that uses two devices you have to use two separate .ino sketches, running in two separate processes. You have to manage these two projects separately, test and upload them on different schedules. Then what if you need to share some common headers, like, let’s say, a .h file which contains an encryption key for RF? That’s not straightforward at all.
PlatformIO makes it easy to work with multiple devices.
Hello world!
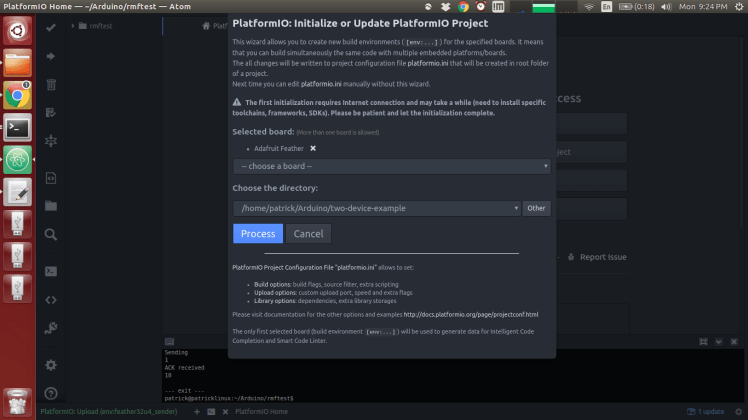
Install the PlaformIO IDE, fire up Atom, and start a new project. Add whatever device you want to support – I’m using the Adafruit Feather, specifically the model which has an RFM69 RF module on it for radio communication. This will initialize a minimalist project with nothing in it:
Now create a new file under src/sender/blink.cpp, which will contain Arduino’s version of Hello world, the blink sketch:
#include <Arduino.h>

// The Hello world of the Arduino world! Blink at 5Hz.

void setup() {
pinMode(13, OUTPUT);
}

void loop() {
delay(100);
digitalWrite(13, HIGH);
delay(100);
digitalWrite(13, LOW);
}
Now connect your initial Arduino to a USB port, and hit Upload from the PlatformIO menu.
That’s it – you should get some output to the effect that the code was successfully built, your code should be uploaded to your Arduino, and the builtin LED should start flashing.
Hint: You can access all the build actions – build, upload, and test – using the F7 key.
Static address
Use the PlatformIO > List Serial Ports menu item to find which serial port your Arduino device is using. On Linux, the name of the device you be of the form `/dev/ttyACMXXX`; Macs instead have the form `/dev/USBXXX`. Now open the platformio.ini file at the root of your project, which was auto-generated for you. Mine looks like:
[env:feather32u4]
platform = atmelavr
board = feather32u4
framework = arduino
We’re going to start by giving it a meaningful name, and assigning it to a specific upload port:
[env:feather32u4_sender]
platform = atmelavr
board = feather32u4
framework = arduino
upload_port=/dev/ttyACM0
Save the file, and upload again, you should get exactly the same result. While it seems like we haven’t done much, we’ve created the skeleton for our future build file for multiple devices. When you work on bigger project, you will also manage dependencies, and many other aspects of the project, through the platformio.ini file.
Two devices
To extend this to two devices, it’s very straightforward. Make a new file in the project, src/receiver/blink.cpp. Set the interval for this one so it blinks more slowly:
#include <Arduino.h>

// Blink this pup at 1Hz.

void setup() {
pinMode(13, OUTPUT);
}

void loop() {
delay(500);
digitalWrite(13, HIGH);
delay(500);
digitalWrite(13, LOW);
}
Now connect your second device, list serial devices through the menu, and find out the name of the new device, e.g. /dev/ttyACM1. Now we’re ready to update the platformio.ini file:
[env:feather32u4_sender]
platform = atmelavr
board = feather32u4
framework = arduino
src_filter = +<*> +<sender/> -<receiver/>
upload_port = /dev/ttyACM0

[env:feather32u4_receiver]
platform = atmelavr
board = feather32u4
framework = arduino
src_filter = +<*> -<sender/> +<receiver/>
upload_port = /dev/ttyACM1
We’ve added a second section corresponding to the second device. The important thing here is the addition of src_filter, which specifies which files are to be compiled and sent to each device. We specified – and + to specifically include and exclude subdirectories of the source folder.
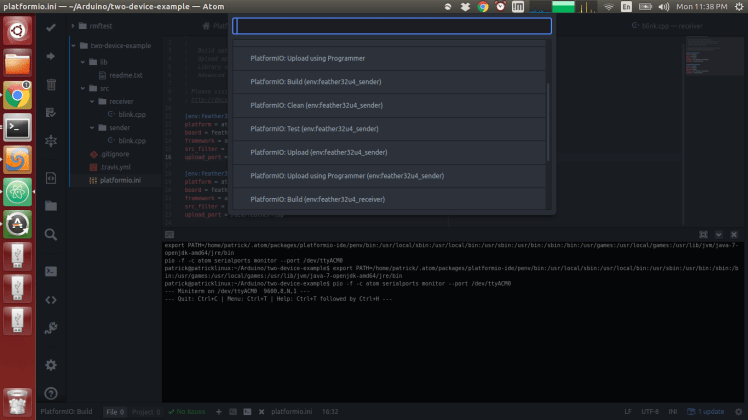
When you hit F7 this time, you’ll see many more options — you can Build, or Upload, which will send both sketches one after the other to their respective Arduinos. You can also build and upload for a specific environment, in which case only one Arduino will be updated.
If you upload both sketches, you will see your designated sender blink fast, and the designated receiver blink slowly.
Shared files
With this structure, it’s very easy to share a file between the two sketches. Simply create the src/constants.h file, with content, for example:
#DEFINE secret_key "OMGSOSECRet"
Then #include it in both the cpp files. Easy.
Optional: static addresses
The scheme here will work as long as you remember to reconnect your Arduinos in the right order — otherwise they’ll be assigned different TTY addresses and you’ll be uploading each sketch to the wrong place. To avoid this, you can change your udev rules to assign a static /dev address, e.g. `/dev/receiver`, to a given Arduino. Follow this tutorial here, and update your platformio.ini file accordingly. It’s a bit of work but it will pay off later in the hassle you save.

2 responses to “Multi-Arduino projects with PlatformIO”
[…] IDE is not well-adapted to this kind of multiple device project, so I upgraded to PlatformIO. See my previous post on PlatformIO on how to set up a multi-Arduino […]
Nice ! I didn’t know about “upload_port=xxxxxxxxx” in platform.ini when you have multiple devices